Run Test Hub server
Assumptions:
-
You’ve installed Test Hub using any of the methods explained there.
-
You have Test Hub CLI on
PATHenvironment path variable. -
You’ve installed Test Hub client to interact with Test Hub server.
-
You’ve run a Maven test phase (
mvn clean test) in a none multi-module project.
Starting Test Hub
To start Test Hub you only need to run next command from your terminal:
~ $ testhub start
After that you can go to http://localhost:8000 to access to the main page of Test Hub. If it is the first time you start Test Hub, then you will see an screen similar as:
It is empty because we have not registered any project and build yet.
So now everything is up and running, it is time to register first project and build.
By default all data is stored at ~/.hub directory. This location is configurable and we’ll cover in configuration section.
|
Registering first project
Test Hub server opens a REST API so anyone can interact with it without been tight to any client, but to simplify the adoption to Test Hub, there is also a Test Hub client to interact with.
So move to the root of the project you want to publish test results to Test Hub, and after running mvn clean test, run next command:
~ $ testhubclient --project hello-world --build 1
Notice that you can substitute the project name to the name of the project and the build represents the identifier of the build.
Notice that in a CI/CD environment some variables are set as envirnoment variables, so you only need to reasign them to the flag.
For example in Travis CI:
~ $ testhubclient --project hello-world --build $TRAVIS_JOB_NUMBER
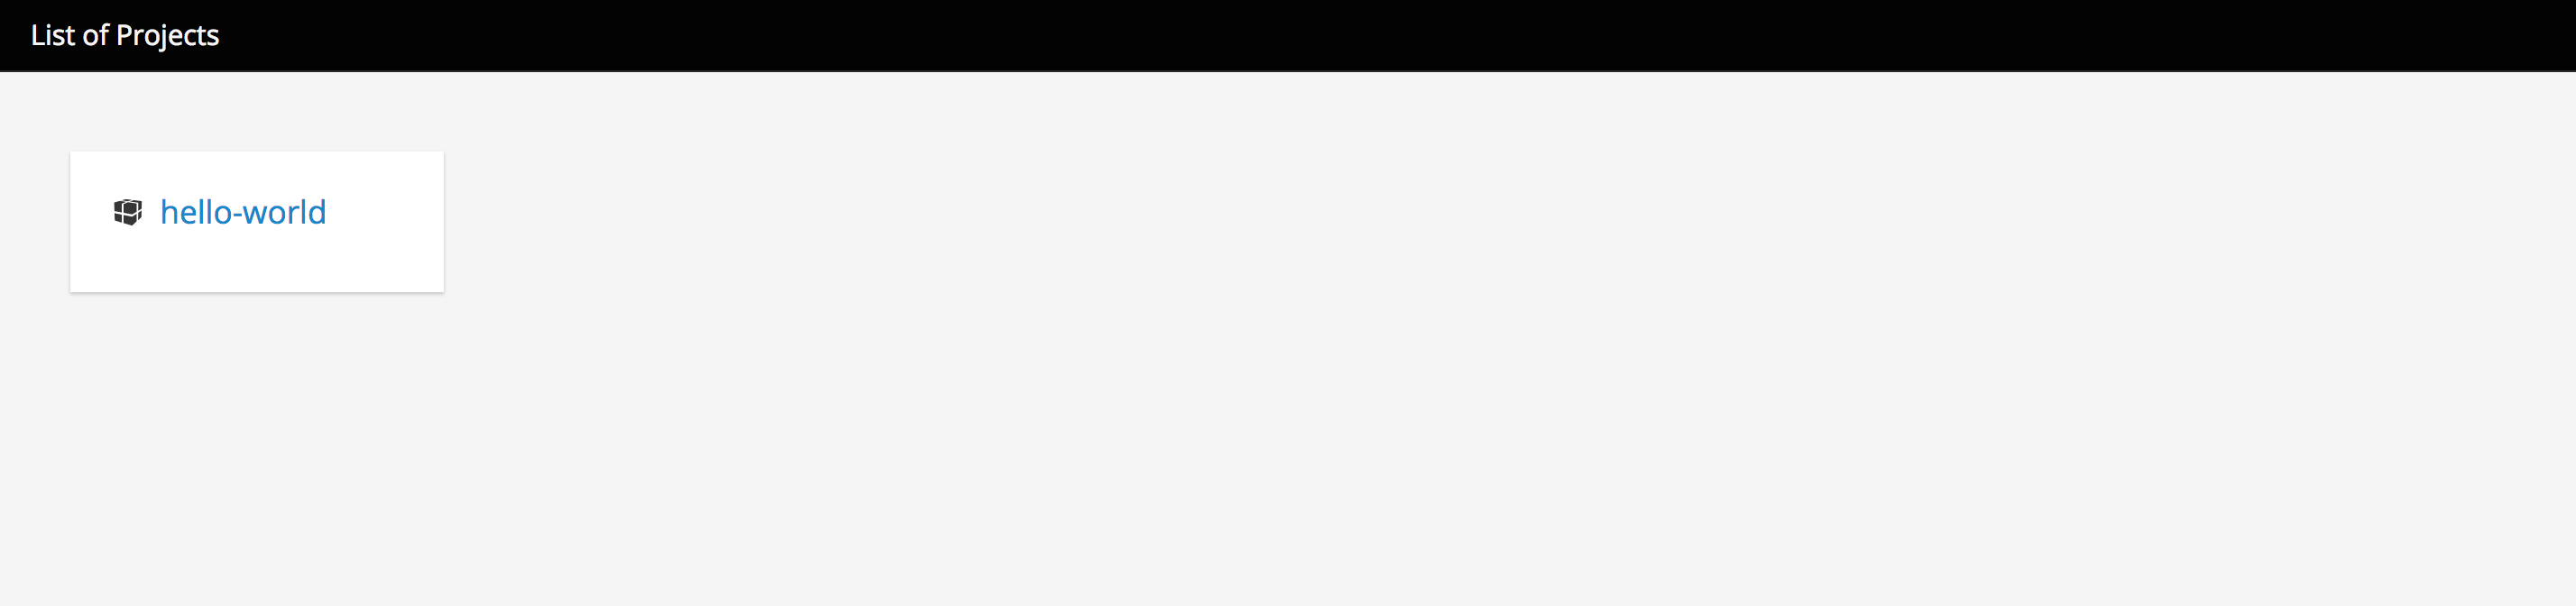
Then just refresh home page http://localhost:8000 and you should see that now there is a new card box with the project.
Navigating through the site
Project Details
If you click on project name, you’ll see an image similar as:
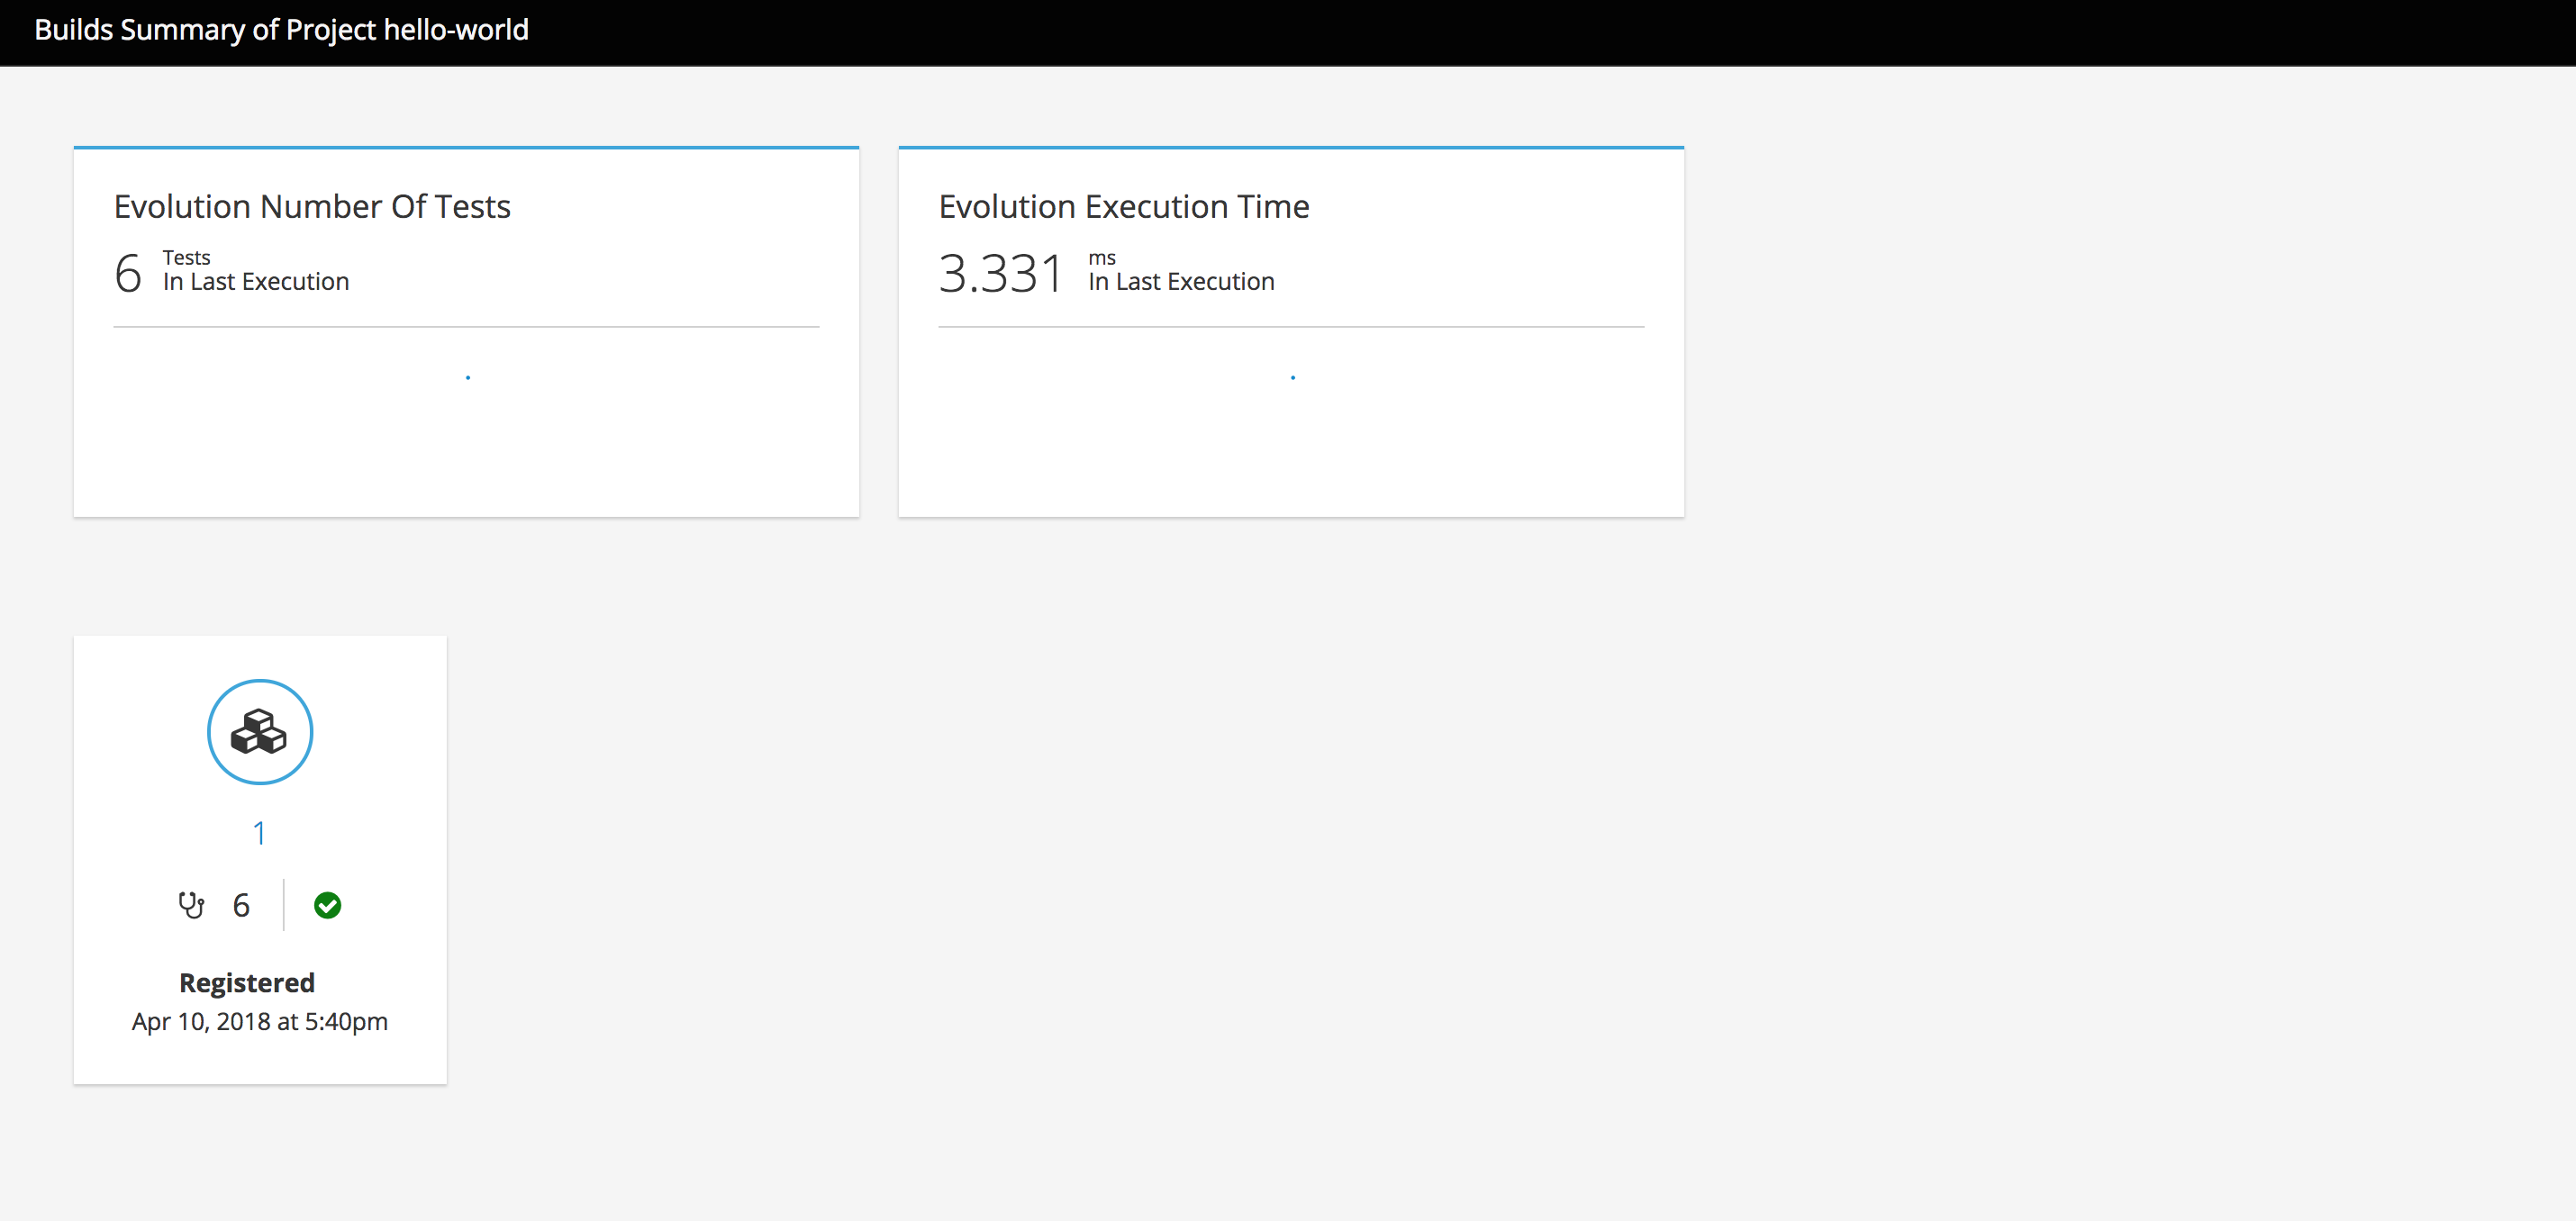
In this page you can see the evolution of number of tests of the project, in this current case there is only one run. Also you can see how the duration of tests has evolved as well as the duration of last execution.
Notice that then there is a section where you can see each of the builds that has been registered for this project. In each card, build number, number of tests and if all tests suceeded or not is shown, so you can get a quick overview of the build.
Build Details
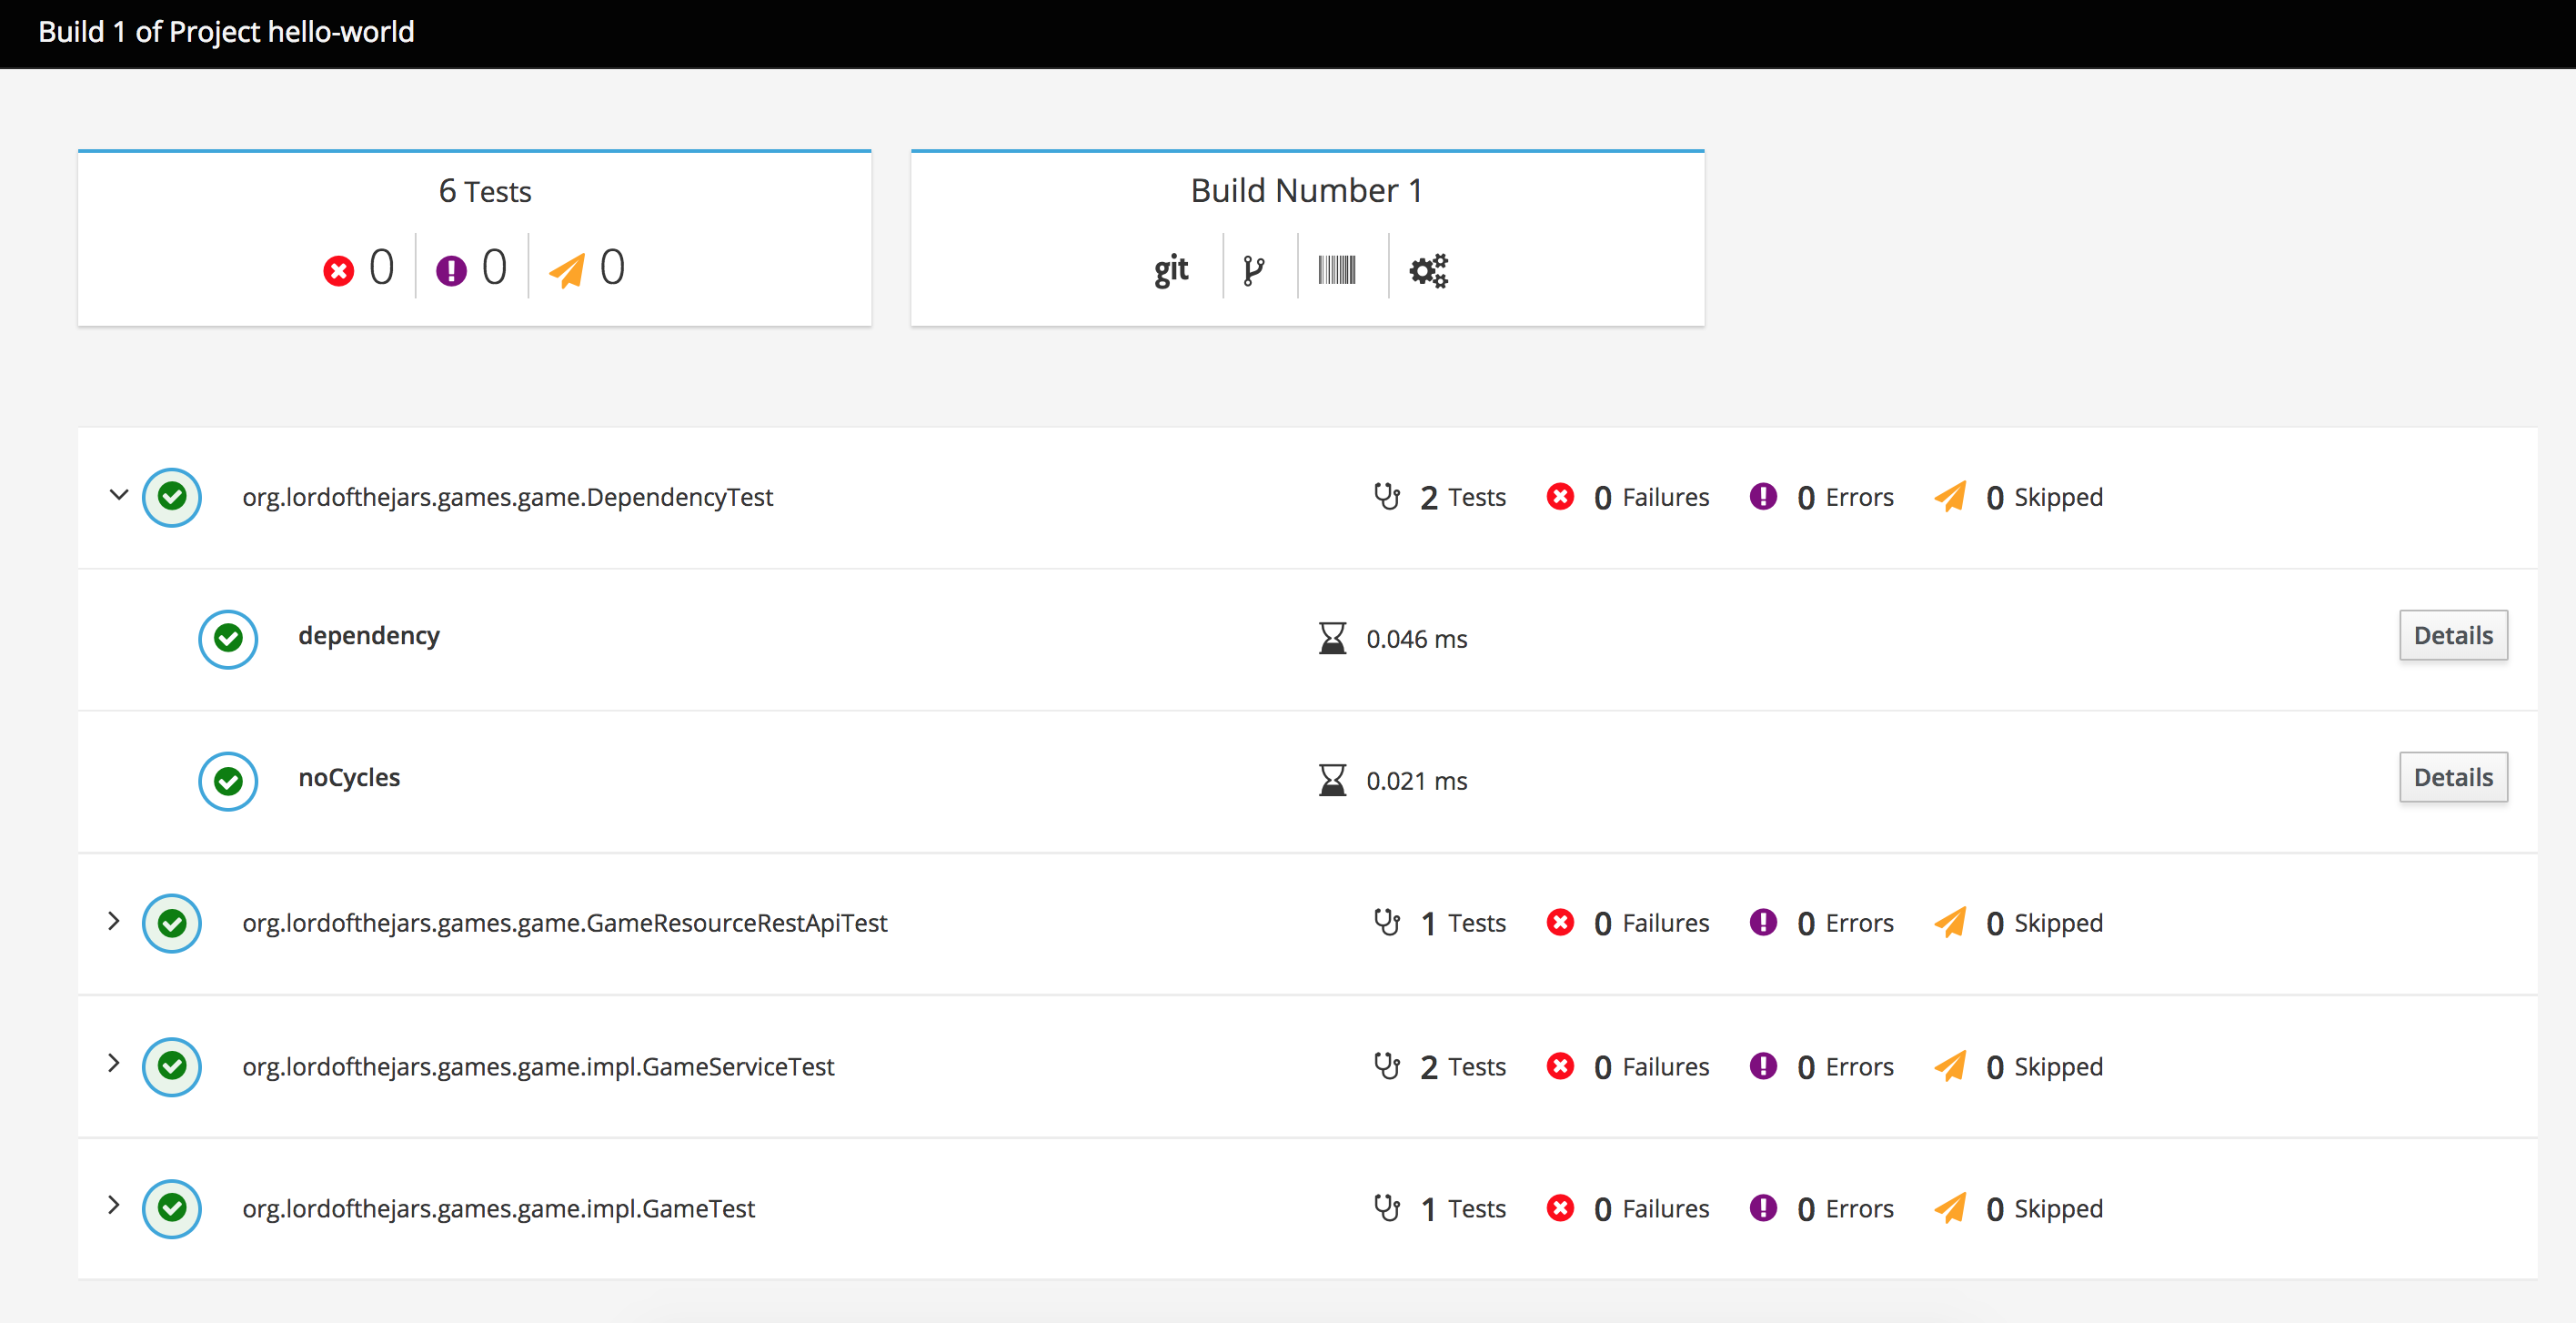
You can click on build number to get build details, and you’ll see an image similar as:
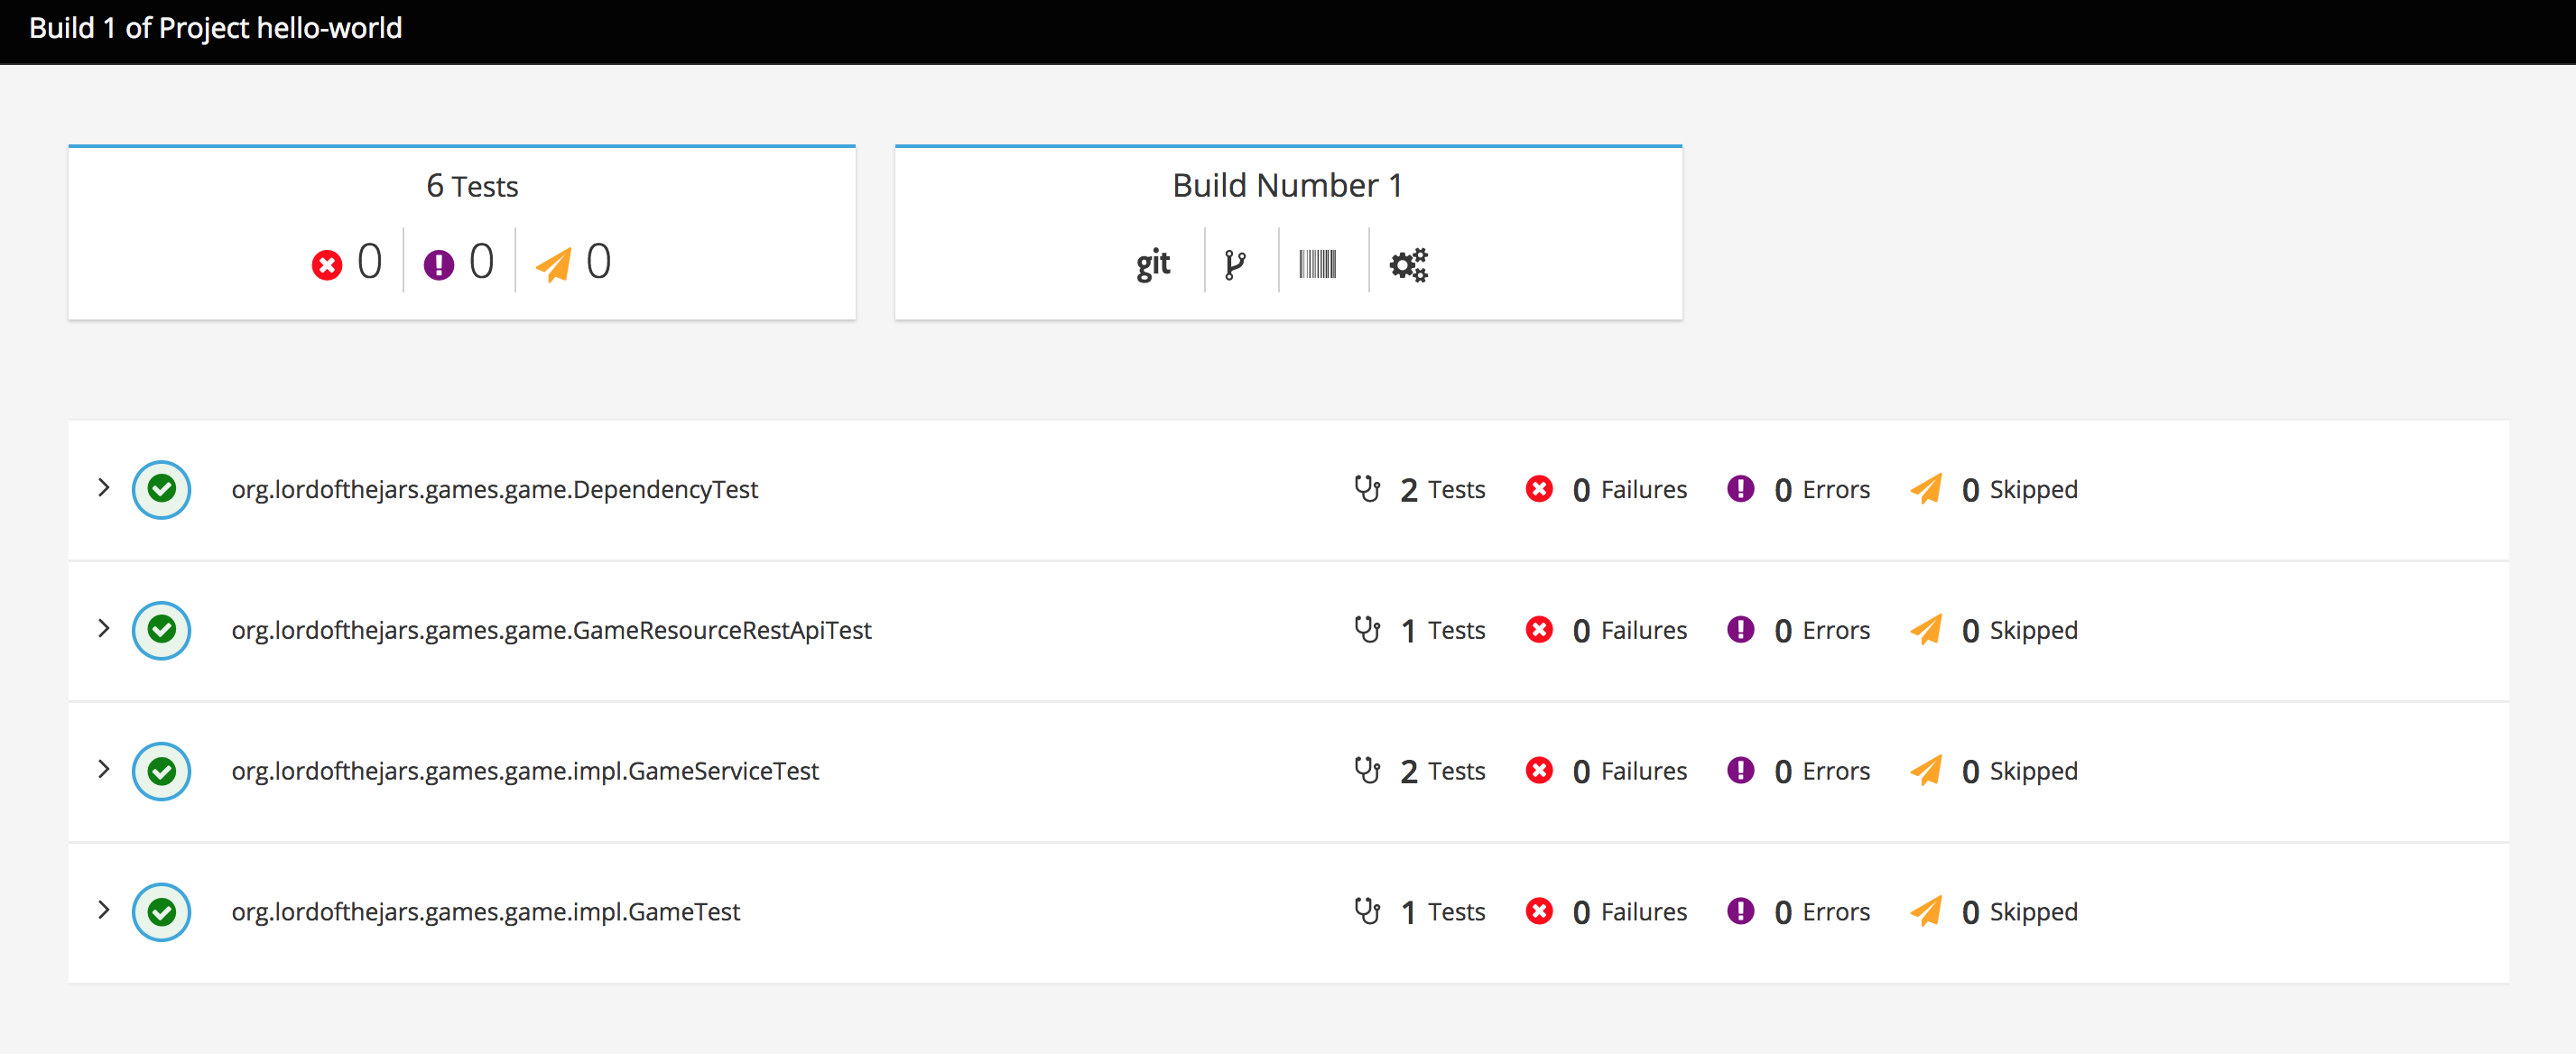
In this page you can see the summary of the test execution and also a card with some icons which allows you to navigate to source code repository, branch used and commit id where build has been run. This information is only available if it is provided when build is registered. Read Test Hub client documentation for concrete example on how to send project build information.
And finally a list of all test classes executed with results. If you click on test class, the list is expanded with information regarding each of the test method executed in that class:
Authentication
By default Test Hub runs without any security enabled. This means that anyone can publish new testresults or delete ones. Although this might be good for demo purposes or if you are running inside your secured infrastructure, you might be want to restrict who can do these operations.
Basic authentication approach has been implemented.
Currently you only need to define a users.yml file at current workspace (or use --authentication.userspath flag to set current users file) and security will be enabled and after that only these users will be able to publish and delete test reports.
An example of file can be:
users:
    - username: alex
      password: alex
Configuration of Test Hub
The command to start Test Hub is start.
This operation supports next flags:
| Option | Purpose | Format | Default |
|---|---|---|---|
--port |
Sets the port where Test Hub is started |
integer |
8000 (or 443 if |
--cert |
Sets the certificate file to use in |
File path |
|
--key |
Sets the key file to use in |
File path |
|
--repository.path |
Path where project and build data is stored |
File path |
|
--config |
Location of |
File |
. |
--authentication.userspath |
Location of |
File path |
|
--authentication.secret |
Secret used for signing JWT token |
String |
<internal one> |
Configuration file
Test Hub can also be configured by using a file instead of passing arguments.
The file must be named testhub.yml and by default placed on the directory where you are starting Test Hub.
You can change the folder where testhub.yml file is placed by using --config argument.
| CLI arguments takes more precedence than the ones configured in file. |
testhub.ymlport: 8080
repository:
path: /tmp